Wednesday, June 28, 2006
Symbolic alphabet
Anahata said, "This is a very dear concept to me about how each artists builds a personal style and relationship to their own work. The idea is pretty simple really but the effects are far reaching. Basically each person is drawn impulsively to concepts, colors, symbols and moods. When these things are used in repetition the artist anchors a new piece in their "Symbolic Alphabet". Piece by piece this alphabet allows the artist the ability to communicate a visual language all their own. An intuitive signature that anyone can recognize, and feel on an emotional level-regardless of content. We do not have to understand an artist or even like it. But if they have been following an authentic impulse their work will have a magnetic quality and a voice of it's own. This voice is literally the language of the Symbolic Alphabet. To me it's more of a frequency. Something we perceive from the gut rather than with our mind. And that is how the Alphabet is built. By following one impulse to another and integrating visual desires step by step without hesitation or editing."
I asked some clarification questions and received even more creative goodness to mull over. This is fabulous!
"At least with how I have it laid out in my mind is that your symbolic alphabet is made up of symbols. I call it an alphabet because it is the components of a language. And all languages
have an alphabet. For artists it is simply a Symbolic (Visual component) Alphabet and is communicated not in words but through images. Our Alphabet is always changing. Certain themes and things will be predominant for a period of time and then move out of heavy rotation. But they will always remain a part of your creative signature, your Alphabet. Just as things will begin to emerge and anchor themselves into your work- these too are new keys to your language. One could identify and really define those symbols and make an actual alphabet key - but it is primarily an evolving thing."
WOW!!!!!!
On Words ~ Art ~ Inspiration

From the artist:
"This collection has been put together for you to use as “Spare Parts” for your own visual journey and mixed-media story. It can also serve as an example of one artists palette and inspire you to create & embellish your own. Collage, more than any other art form, has the unique power of symbolic emphasis. Using images from our world and reconfiguring them into new templates is a profound & personal statement. Your life is a composite based on interests & archetypes. Let it shine through your art work and begin to build your own “Symbolic Alphabet!"
Doesn't that sound cool!!! I am so intrigued with her "symbolic alphabet" statement and want to know more. Has anyone heard of this?
Also on her blog, she mentions some really cool free fronts from artist Edwardo Recife. Check them out here. Wow! I think Cassondra used some of Anahata's Papayalicious images in her Away-from-the-Usual book. I love this!!!
Speaking of alphabets and words, I finished Eat, Pray, Love by Elizabeth Gilbert last night. Loved what she had to say in the first half or so (Italy and India), wasn't quite as into it when she was in Indonesia. This was the "romance" part of the book and I guess I was more into the soul-searching aspects. However, she really had some interesting explanations of Indonesian culture and I loved how she weaved that into her life story. Overall, it was a really great read and I would highly recommend it.
One fun part of the book is when she is having a conversation about how every city has a word that defines it, it identifies most people that live there. For example, they believe that Rome's word is sex, New York City is achieve, LA is succeed, Stockholm is conform. They expand this game to defining a family with a word, and then themselves. Later in the book Elizabeth decides that her word is antevasin, which means "one who lives at the border." I've been thinking about what is my word? I think mine is GLEAN, "to collect bit by bit". That's pretty much the story of my life:)
What's YOUR word?
Lastly, another neat book that just came out is called Collage Lost and Found: Creating Unique Projects with Vintage Ephemera by Giuseppina Cirincione. I just got it at the library the other day. It has some great ideas!
Thursday, June 22, 2006
Where I've been...
Here's what I've been up to:
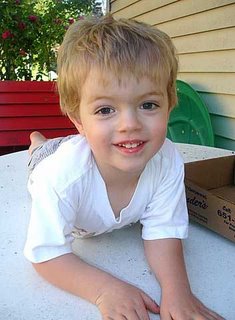
On Monday Lowell started his Autism Day Treatment program. For lots more on this, visit my other blog. It is 5 days a week, all morning long. He's doing just great:) In the afternoon, after both kids nap, we've all been enjoying the wonderful summer weather we've been having!
Last night we bought a new car, a Ford Freestyle. It will be mostly paid for by insurance after the accident. Nice ride!

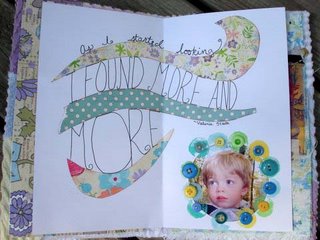
I've had a tiny bit of time for art, so I worked on another page for my BE book collaboration with Ashley.
Sunday, June 18, 2006
The complete Book of Dreams
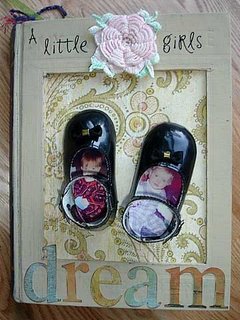
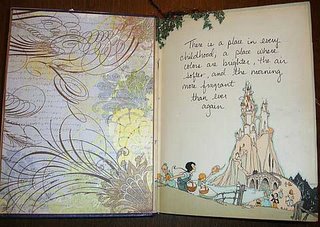
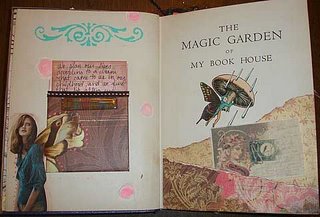
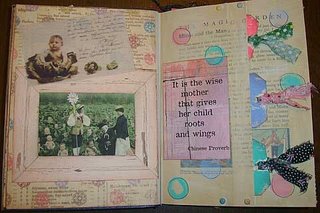
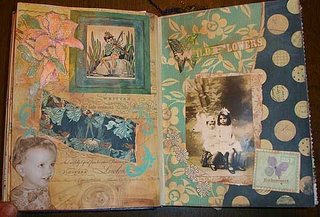
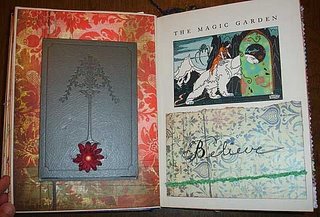
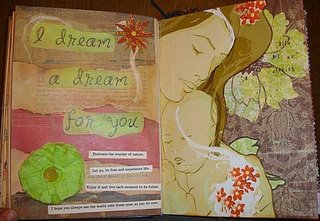
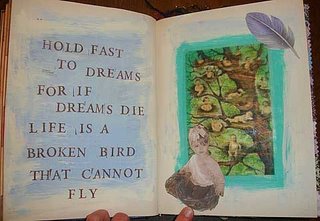
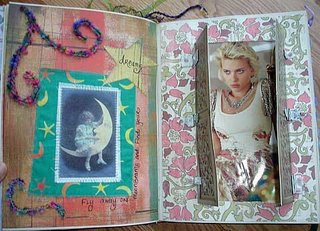
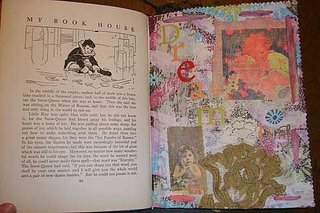
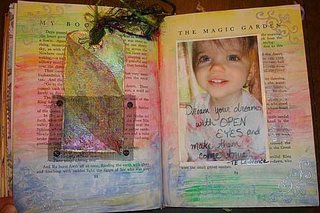
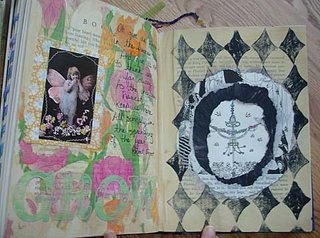
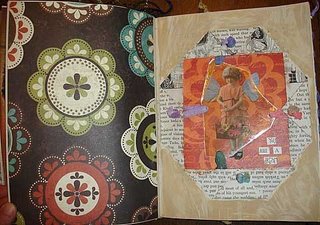
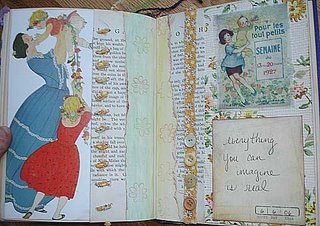
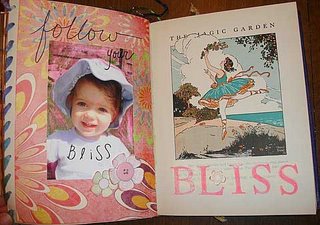
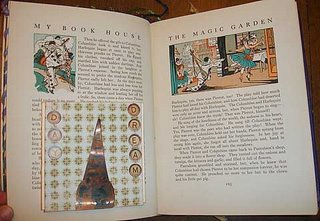

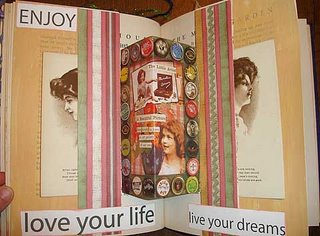
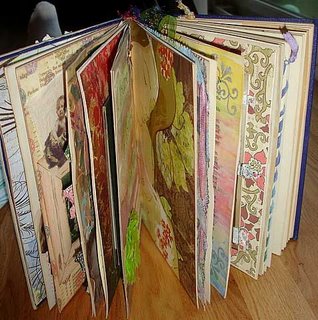
Thank you all for your participation and support. Your art has been so motivating and inspiring:) Please continue to leave a comment when you post your work on your blog so that we can all go check it out!
Also, please see post below for information on the upcoming ephemera swap! Everyone is welcome to participate. There has been a great response so far, I know we're all going to get some fabulous new goodies for our art:)
Friday, June 16, 2006
Wanna trade?

Happiness today was receiving my ephemera swap package from Melissa. The swap was five packets of goodies for packets from five other swapees in return. Check out my haul! I got quite a variety and can't wait to use them in my creations.
Since the Book of Dreams project is winding down and hopefully you're all ready to continue to work on more altered books, don't you think we could all use some "fresh" supplies? I would love to host an Ephemera Swap of my own. Anyone interested?
If there's enough interest, I'd like to do a 5 for 5 like Melissa did. Then you get a nice big package full of goodies in return:) That means send 5 "packs" to me, and get 5 back.
What are we exchanging? Carefully chosen pieces to be used in collage, altered books, scrapbooking or other mixed media art. Each packet should have 10 or so assorted pieces of ephemera, preferably vintage, but definitely in good condition. Don't get too stressed about the number of items, just a piece of funky vintage fabric could be considered one item. I'm thinking along the lines of vintage treasures that you'd find at an estate sale or up in grandma's attic, maybe even some "new" vintage-looking stuff. These can be printed papers, old book pages, book illusrations, ads, wallpaper, etc. Maybe some pretty, old buttons, ribbons, lace trim, etc. Just make sure the contents are good quality stuff.
Want to know more about ephemera? Technically it is any goods (primarily paper goods) that were not intended to be kept, such as advertisements, newspapers, etc -- but "vintage ephemera" has come to mean any type of older paper goods from book or ledger pages, antique or vintage magazine pages and advertisements, sheet music, old letters and postcards, old phtographs, trade cards, victorian "scraps", wallpaper, etc. I would also include for this swap, antique/vintage sewing notions buttons, buckles, ribbons, lace, sewing trims, fabric, old beads, milinary flowers, etc. So.. this all may not be the dictionary definition of ephemera, but I think it's what most of us have come to think of it as.
Send me all 5 packets by the end of June, along with $5 for postage, contact me about international postage and a return address label and I'll send 5 different packets of loveliness back to you in early July. Then we'll all have some great new inspiration to work with in our art.
Email me at artsy_mama@hotmail.com for my snail mail and/or PayPal address (if you want to PayPal your postage cost).
Edit: There's been some concern about not having "vintage" stuff and how old things have to be to be considered vintage. Let's just have fun with this. I'm opening up the swap to any fun and funky items that can be used in altered books/mixed media art. Make sure it's good quality. I can't wait to see what wonderful goodies you all come up with:)
Thursday, June 15, 2006
Book of Dreams: Wk 8 {Part 2}
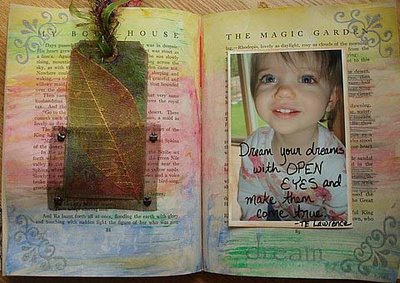
I'm really loading you up this week. I want to spread the inspiration, give you lots of ideas to work with:) Today I had fun with embossing and watercolors. For more of a kind-of batik look use white embossing powder. First stamp both pages using light (I used pale blue) pigment ink. Sprinkle with embossing power (I used silver) and emboss.
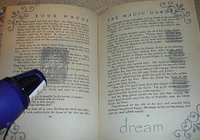 Place paper towels behind each page to absorb moisture. Brush a thin coat of plain water across each page. Paint with watercolors. Allow pages to dry.
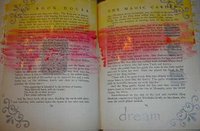
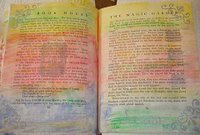 Place copy paper over pages. Iron over copy paper on medium heat until embossed images show on copy paper (they will look like shiny blobs). Remove paper. Continue to embellish pages to your hearts content!
Wednesday, June 14, 2006
Book of Dreams: Week 8~Part 1
 So, we've made it to Week 8 of the Book of Dreams Challenge. Hope you've enjoyed it! I am posting Part One for this week now, since I only have one technique to show. Unfortunately with the accident I've had to put it on the back burner. As I get time to work more on this weeks theme, I will post more techniques and inspiration. I have planned for the theme this week to be focusing on bringing many elements together that we've been working on and using FOUND OBJECTS in your art. Whatever that means to you, found on a walk outside, found in your stash of supplies, a found treasure at a garage sale..
The technique I'd like to show you is fusing together lots of elements (or scraps) that you may have from your Book of Dreams, or other projects. You can use paper, images, fabric, fibers, anything you'd like. I started out just laying out a bunch of elements and deciding what I wanted to include and what I didn't.
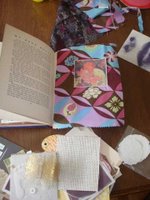 Next, I cut a piece of fabric a bit bigger than the size of a page of my book. I placed it onto a piece of parchment paper. I then covered it with molding paste (or modeling paste) in a thin layer. When this dries it will stiffen up the fabric background so that it can be adhered to a page of your BOD book. You don't want too thick of a layer or it will cover up all of your fabric. I used modeling paste which stays pretty white, I believe that molding paste actually dries semi-translucent.
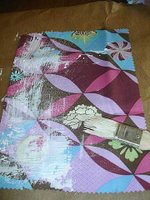 Next I started adding my elements. I put a bit of gesso down in some areas, which will give you a very whitewashed look. I then did one layer of elements, i.e. images, fabric and placed them on top of the gessoed areas. For those of you that invested in Gel Medium for your Book of Dreams, here is another use for it! Put a layer of gel medium over the element. It will dry clear, and helps it all adhered together.
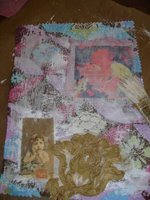 You can then continue to add more layers, using gel medium as the adhesive and sealer (layer under and over element). When finished, let entire piece dry for 1/2 hour to an hour. Place a towel down on your ironing board, a piece of parchment paper under AND over the layout and iron on high (no steam setting). It will begin to steam as you iron, that's ok. That's the moisture coming off while you fuse the layers together.
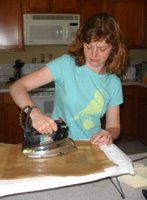 After you have fused the elements together, the fabric will be fairly stiff. You could adhere this to a page in your BOD, or adhere it to cardstock and place it in the book, or think of another creative way of attaching it to your BOD:) I think I may leave this left page as is since it compliments the dreamy, almost frosty feel of the right side. This is the same technique I used for the Funky Buddha page in my post below. I used different brushes for each stage on that one and the same brush for all on this one. You will see that this has a bit more "foggy" or whitewashed look from the gesso residue on the brush. Each will give you a different look and feel.
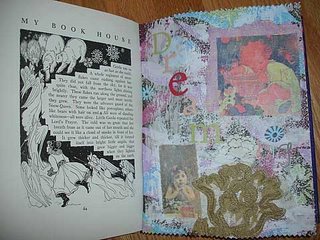 I will try to post more for this week. Have fun. Incorporate found objects and scraps into your Book of Dreams and see where it takes you!
InWeDay 2006
It's a day recognized to unite webloggers all over the world.
Check it all out here
I also wanted take this opportunity to thank all of you that read my blog. I love hearing your comments and your support means a lot to me. I started this blog in November of 2005 and am now on my 170th post. I wanted to have an outlet for my creative ventures, to throw them out there for the world to see. That was a big step, to share my art. I have received so much in return from all of you. The comments, the art, the inspiration. Thanks for being there:)
Tuesday, June 13, 2006
A bad day...and some good news!
 Here are the remains of my day yesterday. I'm happy to say my two kids and I all walked away with only minor bumps and bruises. Amazing, seeing that I was hit at a four way stoplight (lights were out because there was no power) by a work truck that didn't even see the lights because he was behind a semi and plowed into me at full speed. Yikes! The car will more than likely be considered "totaled" since the entire frame is now bent. So I guess we'll be in the market for a new vechicle. The most amazing thing is how it really makes you realize that your life can change in an instant. I feel very grateful for being so lucky. My kids were both strapped into their car seats and made out just fine. Close call!
So, needless to say, until my life gets back to a little more "normal" I may be a bit behind on posting this weeks Book of Dreams technique. This is the last week, so I want to give it my all. Thanks for your patience.
On a happy note, I am excited to say that I will be teaching three ALTERED BOOKS classes at Melba's JustBe Connected gathering October 2007 in Cape Cod. This gathering is going to be a blast and a wonderful way for creative bloggers from all over the world to come together and meet each other in real space, rather than just cyber space. Here is more information on the gathering. There is going to be tons of fun workshops, vendors and lots of time to connect.
What I would love to know from all of you, if you were to take an altered book workshop, what types of topics would you be interested in? What do you want to learn about?
*Travel journal altered book?
*Life event(s) altered book?
These could be interpreted a number of ways.
*Mini altered book? Altered board book?
Maybe I should ask, for those of you that have participated in the Book of Dreams project, what has been your favorite part?
Any other ideas? I'd love to hear them. Thanks so much!!!
Sunday, June 11, 2006
Funky Buddha
 I have been having an absolute blast this weekend getting my collaborative book started to mail out to Ashley Calder. I was so inspired by her work in the Freestyle book and contacted her. We found out we were both Buddhist and thought it would really be fun to do a collaborative project with a semi-Buddhist theme. At first we were going to call it Funky Buddha (just loved the title!) but mine evolved into Be after I got a hold of another of Kobi Yamada's books, this one by the same title. I was inspired by her quote and took off with the concept in my book.
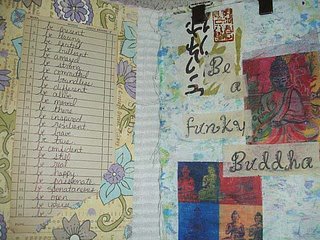 The page on the left is inside the cover and the page on the right is actually a fabric page and is attached to the inside of the back cover with clips.
 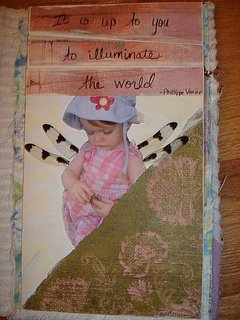 This is my first page and will be sewn into the spine of the book where you see the chenille fabric in the photo above. I love these dragonfly wings that I found in our backyard this evening. I am very excited to see how this collaborative evolves. It is really helping me keep my creativity flowing and challenging me to enjoy the process, wherever it leads!
Saturday, June 10, 2006
Some goodies

I wanted to share a little treat I bought for myself for hosting the Book of Dreams since we're going into our last week. Don't you love how I rationalize my buying:) I found a link to Cheryl Kuhn's Etsy shop on the Sepia Art Studio blog and had to go check it out. Her work is just wonderful and when I saw this little dreamer I couldn't pass her up. She arrived today and I just adore her.
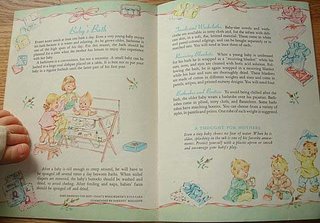
I also had a little excursion to an estate sale this morning and found some fun stuff. I found this wonderful little brochure called Woolworth's Fashions for Baby with hints for mothers. It was published in 1956. It is absolutely delightful. As you can see in these pictures, my daughter loved the illustrations as well:)

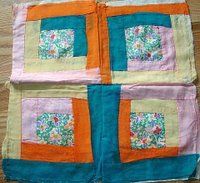
I also found some great sewing notions to use in my altered books and this neat quilt top made with silk material. I think I may use it on my cover for my book collaboration with Cassondra. Any tips on adhering fabric to a hardcover book?
Tuesday, June 06, 2006
Book of Dreams: Week 7 {Fabric & Fibers}
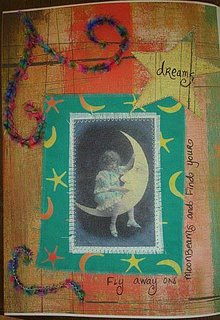
I like combining fabric and paper. You can stitch an image on with your sewing machine, by hand, or just glue it on with fabric glue (I use Sobo). Here I glued on some fibers as well. The bottom left swirl I let the glue dry and then stitched it on. The top left I just glued. I also stitched around the paper moon. The image is done on fabric. On this post I talked about how to print onto muslin fabric. You can also buy t-shirt iron on transfer sheets. You can print an image onto a transfer sheet and then iron it onto muslin. You could do the same technique with words, or even just doodle onto the t-shirt transfer sheet and iron it onto your fabric. There are so many options!

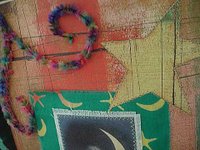
You can also do all kinds of stitching with fabric and fibers. For this layout I first ripped a long, think piece of fabric. I was so happy to use this extra fabric that I originally used to make my daughters curtains. I folded both sides of the layout towards the book spine. I then tore the edge of each and glued them down. I punched holes and "laced" through with fabric.
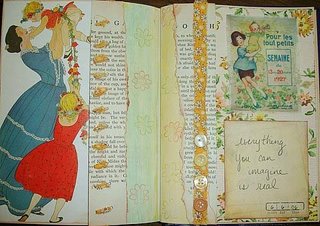
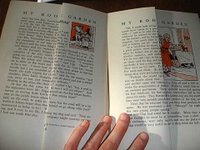
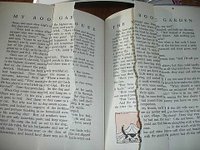

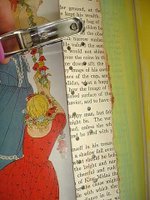

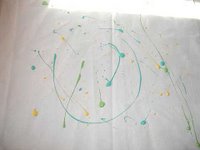
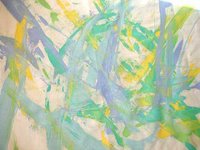
You can also do a little freestylin' and play around with fabric and make your own designs. I started here with a piece of ironed muslin fabric. I dribbled a couple colors of acrylic paint over it and started spreading the paint around with a credit card (or paint scraper). You can then add stamps, doodling, letters, whatever! Create your own custom made fabric.
I have been inspired by Lesley Riley ever since getting involved in altered art. She is such an amazing fabric/mixed media artist. I love how she uses fabric so creatively in her art work. Check out her fragments project. As always, have fun and I look forward to seeing your bursting Book of Dreams:)
